 The current issue of ImagineFX Magazine features a special issue on how to create dinosaur art.
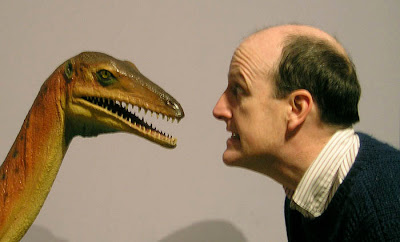 Each Thursday, I've been sharing a few tips from my how-to article, but to get them all, pick up a copy at the newsstand while it's still available.
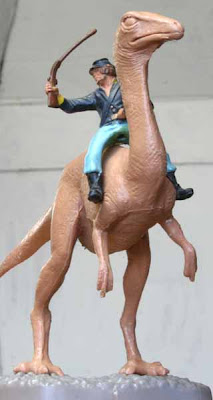
Pose dinosaur models
To get a sense how a real dinosaur would look in the pose you want, pick up some dinosaur maquettes or models. The cheap hard plastic models that you can get in museum stores aren’t bad, but if you can afford to pay a bit more, get some better vinyl kits from the top sculptors. You can also find scale model skulls or skeletons that are really helpful in visualizing the anatomy.
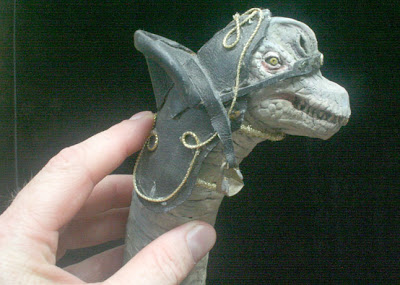 Make your own
You can also sculpt your own reference models out of Sculpey or Fimo polymer clay. Start with aluminum armature wire. The maquettes don’t have to be very detailed. But they should be accurate in the basic forms and proportions. You can make them more useful as mannikins if you connect the head with a universal joint or if you leave an adjustable wire for the neck. Then you can pose them just the way you want them.
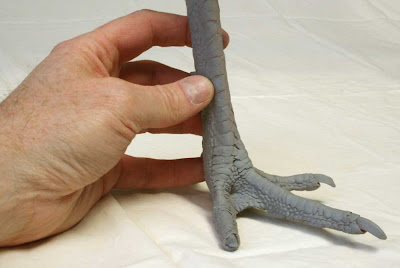 Get taxidermy castings
You can also buy resin molds of turkey feet and chicken heads from taxidermy suppliers. These show marvelous detail of the hard and soft forms, which is really more convincing than most dinosaur sculptures. The turkey foot looks like a slender version of T.rex. You can hold up any model in the position you want on a C-stand, a standard piece of movie grip equipment. (Thanks, Mick Ellison)
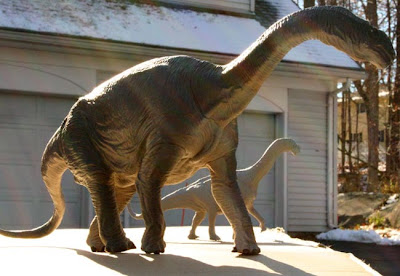
Tips for photographic maquettes
Spray-paint your maquettes a middle grey. White burns out in photos. You probably don’t want the surface to be too shiny, so use a matte finish. Set up maquettes outdoors in natural light against a simple backdrop. Shoot them with a digital SLR on a tripod with a slow shutter speed and small aperture to get maximum depth of field. If you have several models of each general type, like sauropods, shoot them all in the same pose and lighting and use features from each of the models.
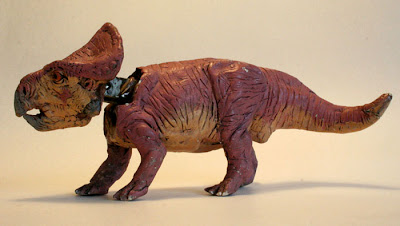
Tweak your photos.
You can light the models with a spotlight with a colored gel for “golden hour” lighting. Use Photoshop to make different versions of the reference shots. By sliding the midtone control in “levels,” you can print versions that emphasize detail in the lights or in the shadows. You can get a whole set of fresh poses by shooting a model backwards and then flopping it horizontally.


0 Comments